How to Make Your Own Rice Flour for Baking
Rice flour has gained popularity in the world of cuisine, particularly among those looking for gluten-free alternatives. Whether you’re baking gluten-free treats or experimenting with new textures in your recipes, making your own rice flour might be rewarding labour. In this blog post, we’ll guide you through the simple steps of creating homemade rice flour for all of your baking needs.
Why Make Your Own Rice Flour?
You can completely control the flour’s quality and texture by making your own rice flour. Here are several justifications for making your own rice flour:
- Freshness: Because homemade rice flour is fresher than store-bought alternatives, your recipes will taste better and work better.
- Cost-Effective: Making your own rice flour is frequently more affordable, especially if you purchase rice in large quantities.
- Custom Texture: To fit your particular baking demands, you may change the rice flour’s coarseness or fineness.
- Avoid Additives: Homemade rice flour is healthier since it doesn’t include any additives or preservatives.
Materials Needed:
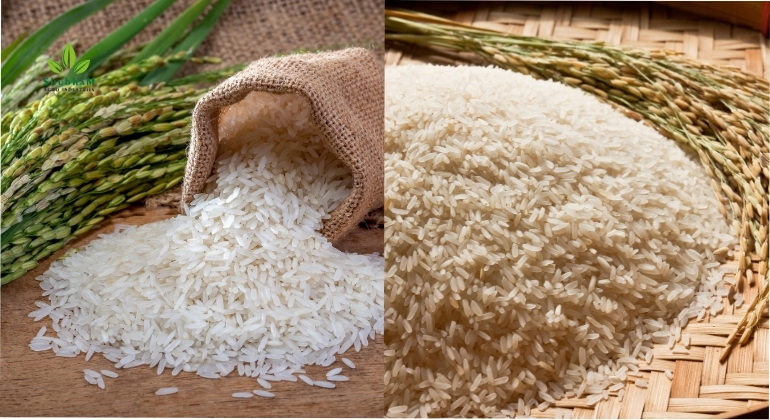
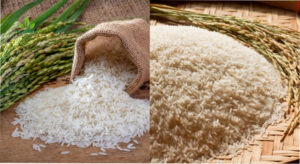
- Rice: You can choose to use brown rice, white rice, or another type of rice. Each will produce tastes and sensations that are somewhat different.
- Blender or Food Processor: You must use a high-quality blender or food processor to guarantee that your rice flour has the correct level of fineness.
Steps to Make Your Own Rice Flour:
1. Select and Measure the Rice:
- Your choice of rice should be made White rice is the most often used type of rice; however, brown rice may have a nuttier flavour and more nutrients.
- Calculate how much rice you’ll need for your dish. In order to achieve consistent mixing, it is advisable to start with small amounts.
2. Clean the Rice:
- To clear the rice of any dirt, debris, or contaminants, thoroughly rinse it under cold running water. To make sure the rice is fully dry, drain it well.
3. Grind the Rice:
- Put the dry rice in your food processor or blender. To prevent overloading your tools when preparing a huge quantity, work in smaller pieces.
- To get the rice to the appropriate fineness, grind it on high speed for one to two minutes. To get an equal texture, you might need to pause and scrape along the sides a few times.
- The amount of time it takes to grind the rice will determine how fine or coarse the flour is. Grind it longer for a smoother texture.
4. Sift the Flour (Optional):
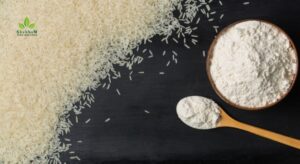
- If you prefer a super-fine texture, you can sift the freshly ground rice flour through a fine mesh sieve or flour sifter. This will remove any remaining coarse particles, leaving you with a smoother flour.
5. Store Properly:
- Transfer your freshly made rice flour to an airtight container and store it in a cool, dry place. It’s best to use the flour within a few weeks to enjoy the freshest flavour and performance.
Tips for Making the Best Rice Flour:
- For the best outcomes, use rice of superior quality. Choose unbroken, fresh grains.
- Keep your tools dry. The texture and quality of your flour can be impacted by moisture.
- Adapt the amount of time for grinding to your recipe. Grinding times should be shorter for coarser flour and longer for finer flour.
- Try out several kinds of rice to find new tastes and textures.
Conclusion
Making your own rice flour at home is an easy and satisfying procedure that gives you access to the advantages of freshness, economy, and personalization. Homemade rice flour may improve your baking efforts whether you’re on a gluten-free diet, experimenting with different textures in your recipes, or just looking for a healthier option. Consider making your own rice flour the next time you’re in the kitchen to use in all your gourmet creations. Your palate will appreciate it.
