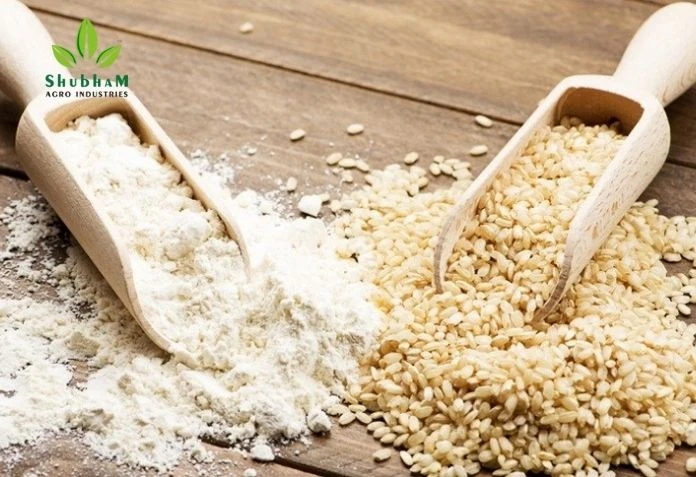
Homemade Rice Flour: Elevate Your Culinary Creations
Rice flour is a kitchen essential, celebrated for its versatility and gluten-free properties. While it’s readily available on supermarket shelves, creating your own Rice Flour at home is not only easy but also allows you to enjoy the benefits of freshness and control over the entire process. In this comprehensive guide, we will walk you through each step, ensuring that your homemade rice flour becomes a staple in your culinary repertoire.
Selecting the Right Rice
Choosing the right type of rice is the first crucial step in making high-quality rice flour. Opt for a variety with lower starch content, such as Basmati or jasmine rice. The lower starch content ensures a finer flour, which is ideal for various applications, including baking and thickening sauces.
Preparing the Rice
1. Rinsing: Begin by rinsing the rice under cold water. This not only cleans the rice but also removes any impurities that might affect the quality of your flour.
Soaking: Place the rinsed rice in a bowl and cover it with water. Allow it to soak for at least 4-6 hours or, for the best results, overnight. Soaking softens the rice, making it easier to grind into a fine powder.
The Grind
1. Draining: Once the rice has soaked, drain the water using a fine-mesh sieve or colander. This step is crucial to ensure that excess water doesn’t interfere with the grinding process.
2. Drying: Lay the soaked rice on a clean kitchen towel or paper towels. Pat it dry to remove any remaining moisture. Ensuring that the rice is completely dry is key to preventing clumps during the grinding process.
3. Grinding: Transfer the dried rice to your blender or food processor. Grind the rice until it transforms into a fine powder. This may take a few minutes, and you might need to stop and scrape down the sides to ensure a uniform grind.
Refining the Texture
For those seeking an extra level of refinement in their rice flour, consider the following additional step:
Sieving: After grinding, sieve the rice flour using a fine-mesh sieve or flour sifter. This process helps achieve an even finer texture, perfect for delicate pastries and recipes that demand a smooth consistency.
Storing Your Homemade Rice Flour
Once you’ve achieved the desired texture, it’s time to store your rice flour for future use.
Airtight Container: Place the freshly ground rice flour in an airtight container. This prevents moisture and keeps the flour fresh for an extended period.
Cool, Dry Place: Store the container in a cool, dry place, away from direct sunlight. Proper storage ensures the longevity of your homemade rice flour.
Tips for Success
. Quality Appliances: Investing in a high-quality blender or food processor is key to achieving the best results. A powerful appliance ensures a smooth and consistent grind.
. Experimentation: The texture of your rice flour can vary based on the type of rice used and the grinding time. Feel free to experiment and adjust these variables to suit your preferences.
Making Rice Flour at home is a rewarding and straightforward process that enhances the quality of your culinary creations. From gluten-free baking to thickening sauces, your homemade rice flour is bound to become a kitchen staple. Embrace the process, enjoy the results, and elevate your cooking to new heights with the simplicity and freshness of homemade rice flour.


